Remember when I said I was going to blog at […]
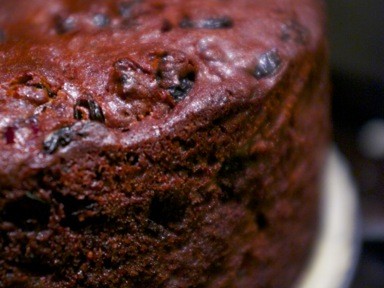
Strawberry Balsamic Jam
Strawberries are hilariously cheap in Melbourne at the moment, and […]
Confetti Slice
In my travels to find a rainbow dot blouse […]
Iced, Iced, Vovo
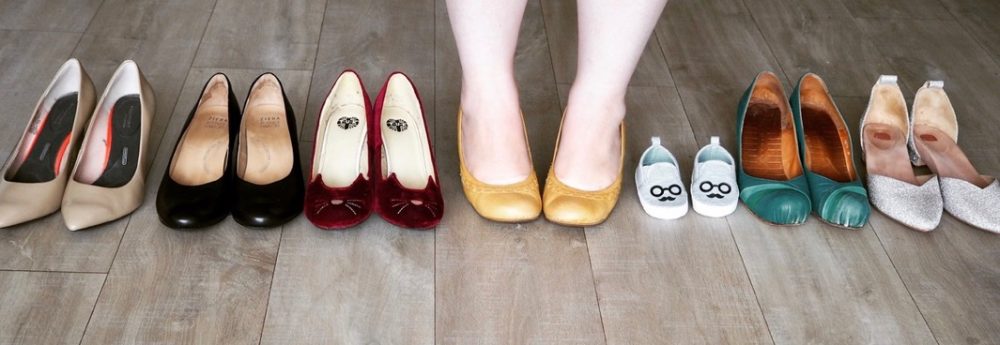
Top: Embody Denim Trousers: Queen Clothing Shoes: Wittner I was […]
Tighty Tight
Top: T-Bar Cardigan: Friends of Couture via Cardigan Store Skirt: […]