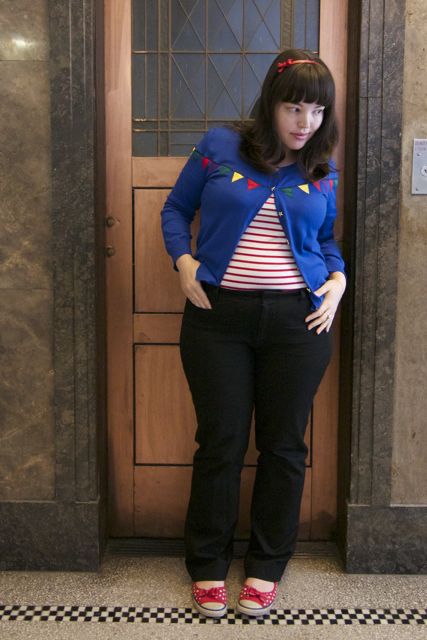
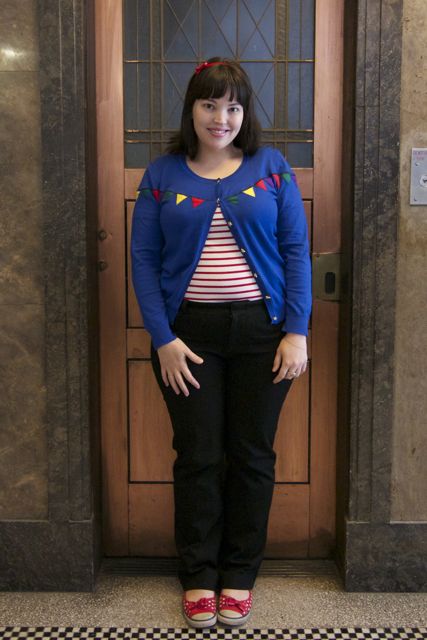
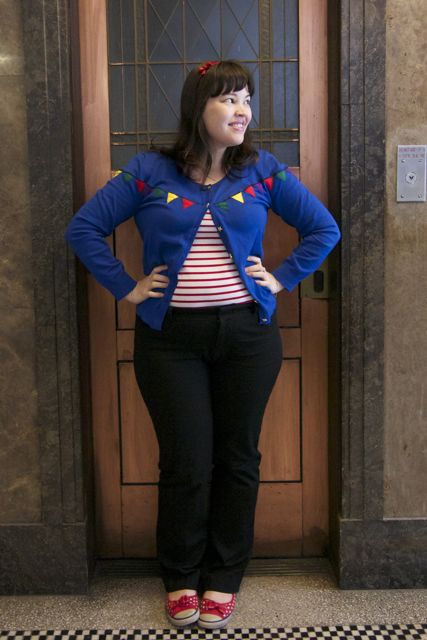
 Cardigan: Cocolatte – Remixed
Top: JayJays
Trousers: Harris Scarfe
Shoes: Rocket Dog
Wowzers! It’s been a while since you’ve seen a remix from me, hasn’t it?
I bought a pair of rose patterned bike shorts from Vamos Threads on Etsy to wear under flirty skirts on hot days, and they look great, but one leg was noticeably wider than the other so I had to dust off my sewing machine to alter those. I figured that since the machine was set up anyway I’d take the opportunity to do a long-awaited remix and “carnivalise” this blue Cocolatte cardigan.
My friend Fiona accidentally bought this in a size sixteen instead of her usual size 10, and rather than going through to effort of having them refund the $7.95 purchase price, she passed it on to me. It was my second navy blue Cocolatte cardy, so I put it in my sewing basket for future remixing.
I had a few tentative ideas knocking around, but after seeing the adorable Carnival dress from Neenee on Etsy I decided to go at it with a string of multi-coloured bunting flags.
It was an easy project for an hour or so – here’s what I did.
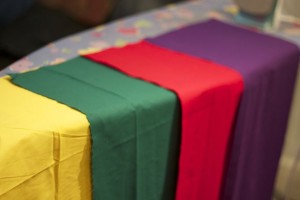
Step 1. Choose your fabrics! I decided to go with plain cottons in bold primary colours, but you could just as easily chose patterned fabrics – ditzy floral prints over a pastel cardigan would probably be lovely.
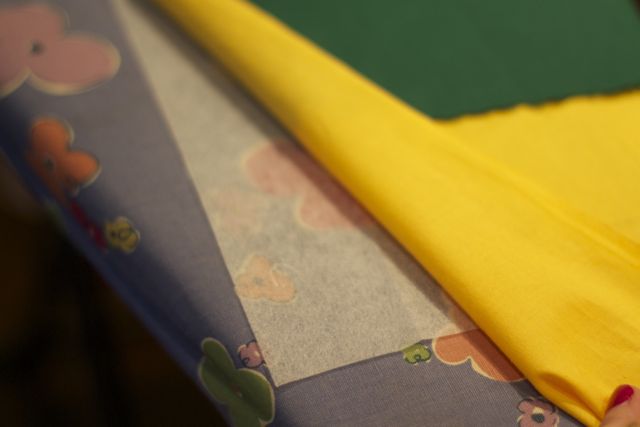
Step 2. You won’t need an enormous amount of fabric for the flags – cut some squares out then iron some interfacing onto the back of the squares of fabric to stabilise them.
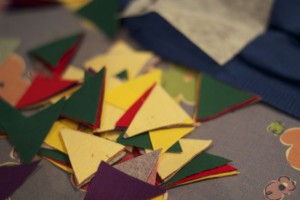
Step 3. Cut the squares into a whole bunch of little triangular flags. Don’t stress if they’re not exactly the same shape and size.
Step 4. To give you an idea of how many flags you’re going to need, mark out where you want the bunting to go, then measure it and divide it by the width of the triangles.
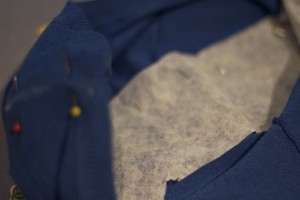
Step 5. You’ll need to pin some tearaway backing on the inside of the cardigan so the fabric doesn’t buckle as you’re sewing.
Step 6. Pin your flags on! I spaced them a little and made them random, rather than going red-blue-yellow-purple over and over again.
Step 7. First I sewed all along the line I’d marked out earlier with a satin stitch (a very close zigzag stitch) then I stitched along the other two sides of the flags to attach them to the cardigan
Step 8. Tear away the backing on the inside!
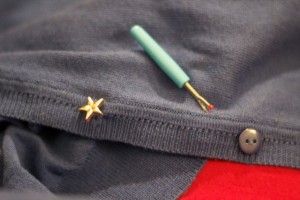
Step 9. I swapped the buttons over from the plain blue buttons to a set of fun carnivalesque gold stars
Voila! The ultimate Ringmaster Cardigan! with star buttons, and a string of multi-coloured bunting flags that extends from shoulder to shoulder!





Very cool!
TOO cute, I love it c:
Beautiful!
Lilli that is brilliant!! What an amazing unique idea! It really makes the cardigan stand out. Love it!
Incredible – best cardigan ever!
That’s so clever and the end result is absolutely gorgeous. It really turns a simple cardigan into a unique garment with a lot of personality
looks cute!
So very cute 🙂 You wear the BEST stuff.
It is so awesome in person, too! I think I might do it to mine because I never wear the plain one I ended up buying and it is such a cool idea. Such a great entire look but I’ll steal your headband one day. Sorry in advance.
Whee! I’ll find one for you, but you have to promise to wear it because you look SO CUTE in headbands!
Adorable! I love how the flags continue all the way around the back!
Yeah! I always insist of having embellishment that follows all the way around. When dresses or tops only have it on the front it bugs me!
As soon as I saw the cardigan I thought, ‘So cool! I have to see where she bought that!’ Love that you updated it!
Thankyou Staci!
cool idea. good work. the cardigan looks fresh and with the shirt together – great. but i don’t like the jeans in that outfit. i think a skirt would be better.
Thanks Nadine – I tried it with a skirt first, but it was a bit cold, so I decided jeans would do after all. I have a mental image of wearing it with a nice bright full skirt though. Maybe bright yellow or red…
Yellow!
What a LOVELY way to update that cardigan! How fun and clever! 🙂 I love it!
Thankyou, lesliele! I had such fun doing it I’m thinking about what else I can put flags on!
That looks toooooo cute! You never cease to amaze me with your fashion sense, and now your creativity. Wonderful. x
Thanks Chantelle! I wish I had more time to do remixes – it’s really satisfying!
Omg !! That is effing inspired – genius. If I can get my sewing machine to work I will totally be copying you!!
xx
Aw thanks Debbie! I’m glad you liked it. It’s pretty easy too – have fun!
That is just the cutest! Looks great against the blue.
Have you thought about starting a business? I (and I’m sure many others!) would definitely buy this cardi.
🙂
I’ve toyed with the idea, Sarah, but my sewing skills are preeeeetty rudimentary, and I’m not sure I could ask people to pay for it!
What a lovely surprise to see how the flags circle all the way round the back! I love this cardi! The patience you must have to cut the little flags and sew them on! This makes for a such a fun outfit!
Oh yeah! Has to go all the way around. Nothing makes me as cranky as seeing tops or dresses with embellishment only on the front!
This is the best cardigan of all time!
Aw – Thanks Danielle!
Very crafty – lovely rejuvenated cardy.
Love this! I need to try it!! That sweater is so cute!
what an awesome idea! i might try it…. 😀
Too cute!!!!! I need to try this!
Thanks Ash! It’s really easy, too! I’m going to do it again with different colours, soon!