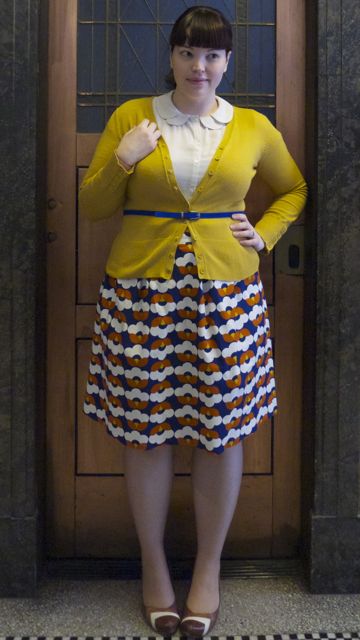
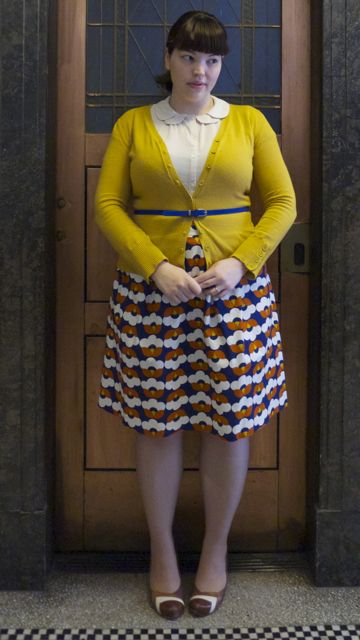
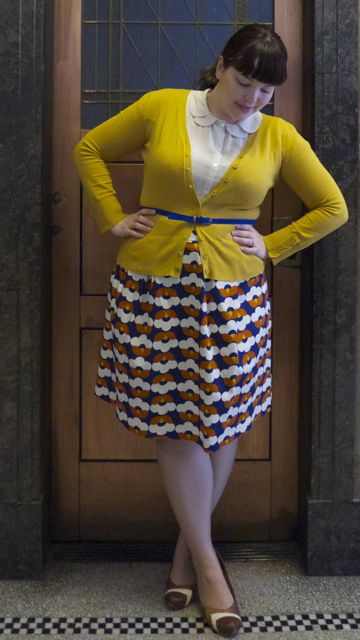
Blouse: Dorothy Perkins
Cardigan: Glassons
Skirt: DIY
Belt: Dangerfield
Shoes: Chie Mihara
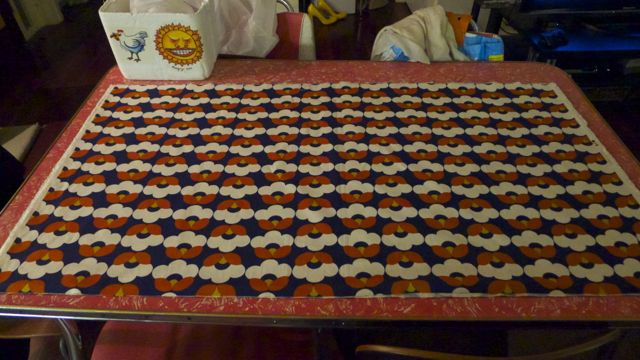
Spotlight KILLS me. Seriously, every time I go in there I see at least seventeen fabrics that I fall head-over-heels in love with. This retro seventies-style floral print caught my eye the moment I walked in the door. It’s a heavy cotton fabric, and only $15 a metre so I snapped up a few metres straight away thinking I could decide what to make with it later.
Later, I decided it needed to be a skirt.
I went patternless again, and just made a basic box-pleat skirt with a zip fastening and a waistband.
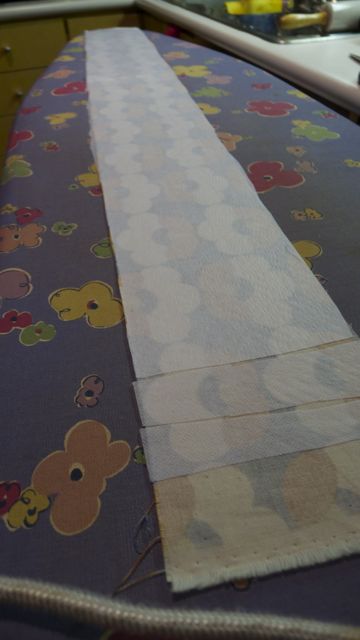
1. Cut your fabric into two identical rectangles with the short side indicating how long you want the skirt, and the long side long enough to wrap around your body, plus extra for the pleats. You’ll also need a waistband; a long strip of fabric twice the width you want the waistband to be, and long enough to fit around your waist.
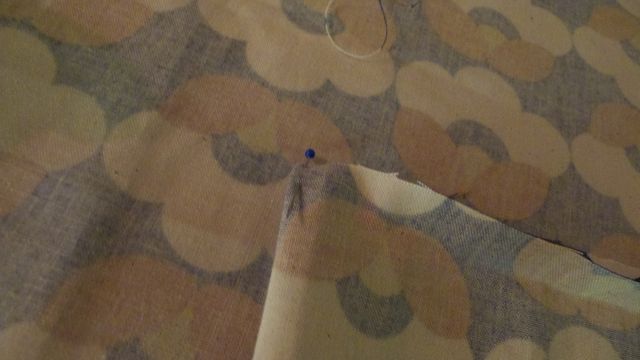
2. Fold each piece of fabric in half and mark the half way point with a pin. This is the centre front and centre back of your skirt.
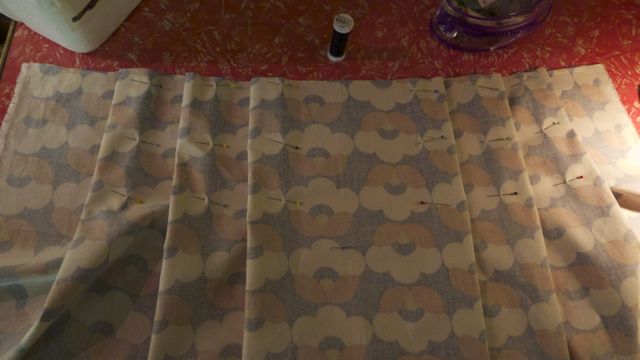
3. Take the measurement of your waist and halve it. That’s how long each skirt piece should be once you’ve inserted your pleats (less seam allowance). Take the length of your fabric, subtract the length of your half-waist. The number that’s left over is how much fabric you have to put into the pleats. Divide up that measurement according to the number of pleats you want. Pinch up that quantity of fabric at equal intervals on either side of the centre pin. (Sorry – I know that step seems really confusing and mathsy but it’s pretty self explanatory when you start making it)
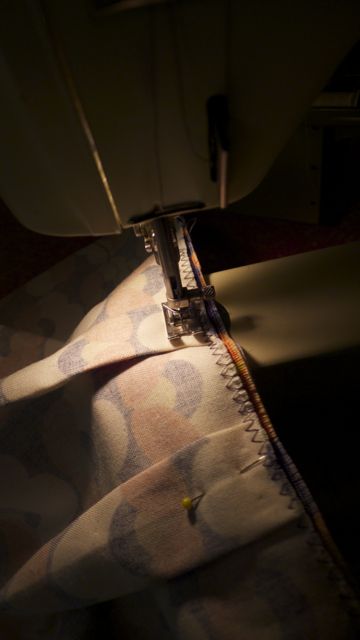
4. Baste the pleats closed on the sewing machine
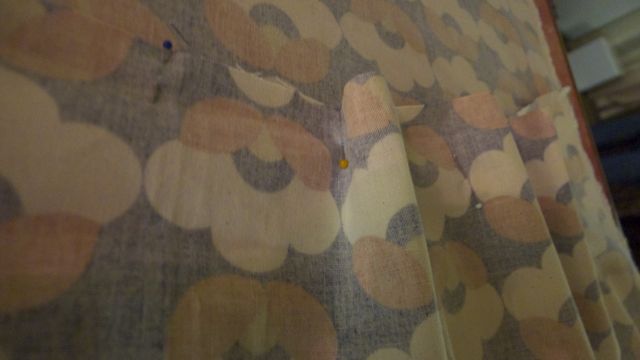
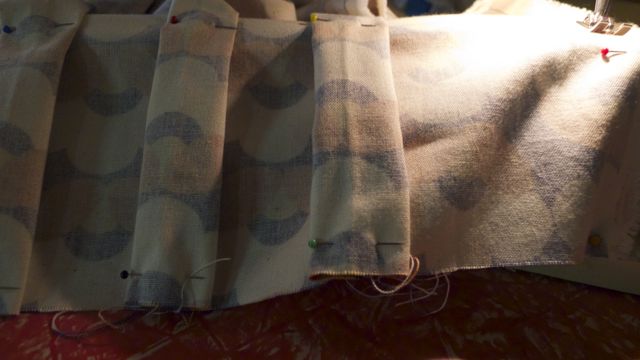
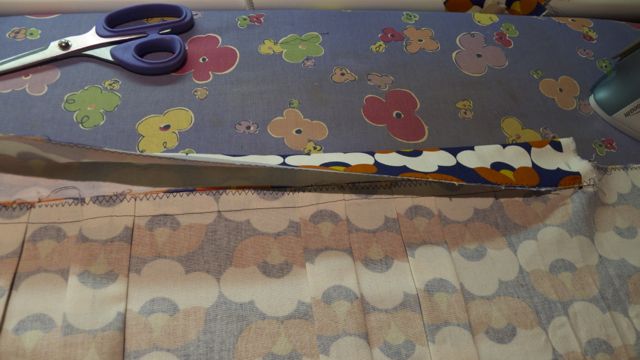
5. To make the pleats a box pleat you have to bring the centre of each pleat to meet the seam (so you have equal amount of fabric on each side of the pleat), then pin press and baste in place.
6. Rinse and repeat for the other piece of skirt; then right sides facing, sew one of the side seams together.
7. Waistband time! Take your strip of fabric and apply interfacing. to the wrong side of the fabric. Then fold on half lengthways and iron a crease.
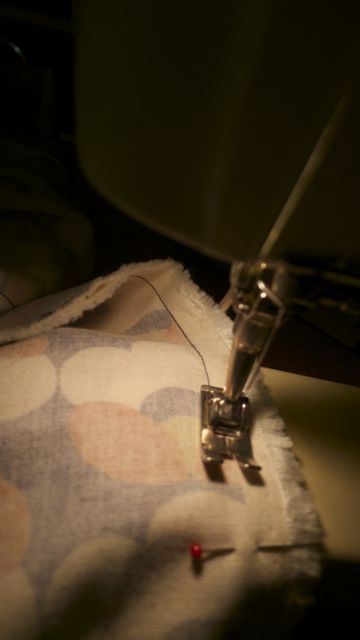
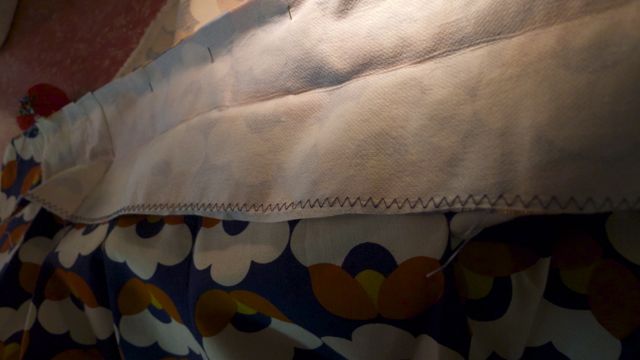
8. Finish the edges then pin the waistband to the skirt; right sides together, and stitch.
9. Fold the waistband over, and with the top of the skirt (where it’s been sewn to the waistband) sandwiched between the two layers of waistband pin and stitch into place.
10. At this point I’d apparently lost the plot, and stopped taking photos. I think there was wine. Let’s blame the wine. Basically you’re done though, all you have left to do is to insert the zipper and finish the second side seam, remove the basting on the pleats, then hem your new skirt!




you look stunning! and the skirt is awesome! 🙂
huge hug!
Thanks, M. It goes with my blue flower pin, too 😉
You are AMAZING. I love this outfit and it is SO flattering on you!
Thank you, Cynthia!
Perfect. Lovely length on you too. Nice to see your great pins! It’s just coming into Winter here up in the Northern hemisphere. Jealous!
We’re just about to head off to Japan (winter!) for a week, and I “had” to buy a new coat for it… It’s killing me that I can’t wear it yet!
Very pretty! The skirt length and shoes make your legs look lovely and looooong!
Aw, thank you! I definitely don’t have long legs, but the shoes are magic.
Lovely skirt and beautiful colors!! I think I need to make one too! – Stephanie
You should, Stephanie! It’s a very easy project, but if my instructions don’t make sense let me know!
It’s FANTASTIC! I love the fabric, very Marimekko 🙂 You did a great job and it is super flattering!
Yep – That was what I loved about it, too. Marimekko’s actually just opened in Melbourne. I’m going to have to give The Sophisticate my wallet for safekeeping, then go and have a window shop!
Your skirt looks awesome, very inspiring … I’m great at buying pretty fabric, but slack at doing anything with it, I need to get sewing!
Holidays! I’m going to do a lot of sewing over the holidays I’ve decided 🙂
Oh my God. I couldnt believe it when i opened this post , i thought you were wearing my skirt. I bought this material and made a skirt a few weeks back and the material and colours reminded me of you. So funny.
That’s great! It’s definitely a skirt kind of fabric 🙂
Lovely skirt! And I don’t know of you noticed but your top pic of the fabric all laid out kinda gives an optical illusion as your scroll up and down past the pic. Weird!
Oooh, I didn’t notice. I’ll have to give it a try 🙂
I love that skirt, the fabric is brilliant. I just wish I was crafty minded enough to make my own clothes!
Daisy Dayz
Cross-Jones-Photography
It’s just fabulous fabric – I wish I could find more clothes made in those kinds of fabrics and prints. Still, I’d definitely recommend taking a beginners sewing class – you’ll never look back!
I love your instructions – despite being completely sewing machine challenged, I think I could actually do this LOL!
I also had a chuckle at the mambo sticker foam box you use. I still have mine somewhere from the Sydney closing ceremony.
Cheers
Thanks Kerrie, I hope they made sense! Usually I just make it up as I go along, and it doesn’t always work, lol!
I pilfered the Mambo box from my Mum – she saw the closing ceremony with my little sis 🙂 I bet it was amazing in person, though!
Heeee I’m the same as Stacey…. Made a very similar style in the same fabric a few months back!!! Spotlight can either be very dangerous or disappointing for me depending on when I’m there 😉
LOL, go you! I saw so much there I wanted to buy last time. Think I’ll have a sewing bonanza over my summer holidays 🙂
Looooooong time lurker, first time poster 🙂 A very flattering outfit, one of your best. It’s the perfect length (sometimes i feel things are too long on you) but this is just right!
Thanks Lisa! I’m a bit shy about my knees sometimes, but I do like the length of this skirt 🙂
Io adoro i tuoi OUTFIT!
Très Chic!
Thanks Rosa!
Great diy. I’m in love **
Thank you! The fabric’s just amaze 🙂
We have been featured together, and I couldn´t like you more.
XXXXXXXXXXXXXXXXXXX
That’s wonderful Sacramento! Thanks so much for letting me know. I love your style too!
this is an amazing skirt!!! well done babe 🙂
Love, Ylenia from Longuette
Thanks, Ylenia! I was really happy with how it turned out 🙂
This is lovely
I had a box pleat skirt that I wore to death in sixth form I think it was from h&m and when it fell apart I was so sad and wished I knew how to make another. This really unveils some of the mystique of making good clothes. Thank you I shall have a go at making one xx
Love your skirt. Read your article and yes, I also read the original article about sewing and body image – and I do think that sewing for yourself builds a lot of great skills, including self-confidence in your skills and self image. And, making something for yourself means that it is a genuine one-of-a-kind garment, just like you are a genuine one-of-a-kind person!
This skirt is beautiful! It is perfect teacher-wear and I am going to make one on my weekend! Love it!