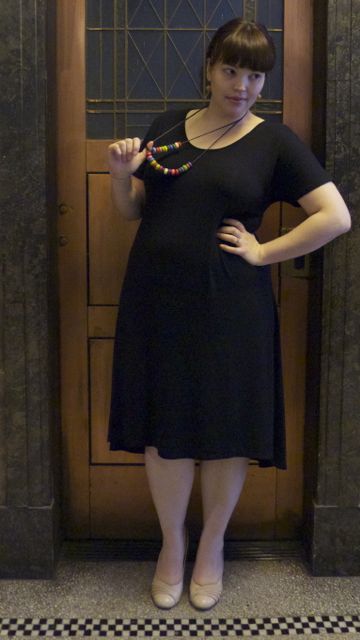
Dress: Virtu
Shoes: Wittner
Necklace: DIY
I’m madly trying to pack for The Sophisticate and my departure to Japan tomorrow morning. I’m a terrible packer – trying to put together good-looking outfits WITH my entire wardrobe is hard enough, trying to put together good-looking outfits in ADVANCE with only a select amount of my wardrobe is even harder. Throw one of the classiest cities in the world into the mix, and I’m in a complete flap.
It doesn’t help that the bloody dress that I ordered in August for the wedding STILL HASN’T ARRIVED, which means I’ve had to figure out something to wear appropriate for a traditional Japanese winter wedding WHILST IN AUSTRALIA IN THE MIDDLE OF SUMMER.
Not.
Happy.
Sigh, anyway, I promised you all a tutorial on how to make the bead necklace from yesterday, so here we go! (Good thing it’s an easy one!)
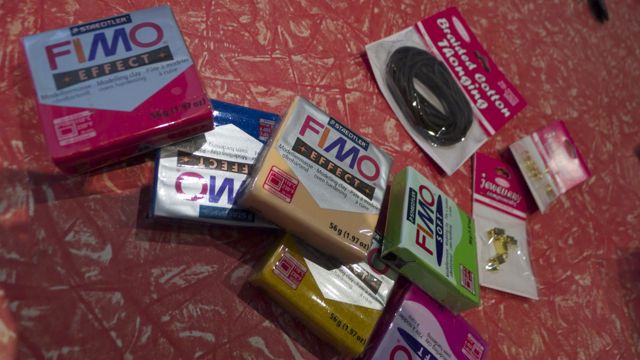
Step 1: Buy some modelling clay (I like FIMO best) in an assortment of shades. You can mush them together to make new colours – like mixing paint – so in the future I’d go with the primary colours: Red, Blue, Yellow, and some White, and take it from there. You’ll also need some leather thong, a thick needle or thin screwdriver, and – if you want – a clasp.
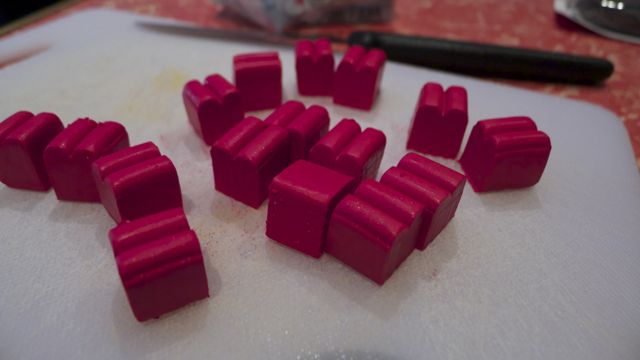
Step 2: Cut some equal cubes of the modelling clay – this will ensure your beads are all roughly the same size. Remember when you’re mushing two cubes together to make a new colour that you will end up with two beads, and so on.
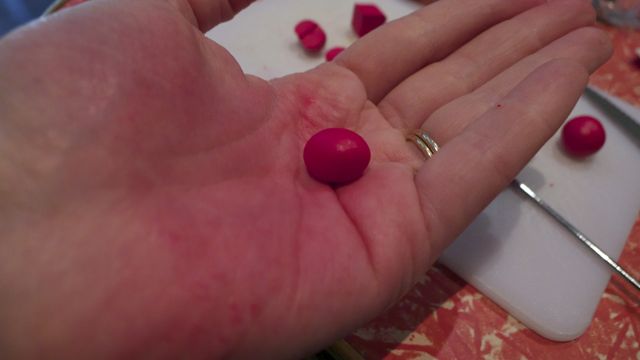
Step 3: Trying to keep your hands clean, and your surface grit free; start rolling the cubes between your palms until you’ve got a little sphere. If your hands start getting warm, and the clay starts to get sticky pop the bead in the freezer for a moment while you go wash your hands under cold water.
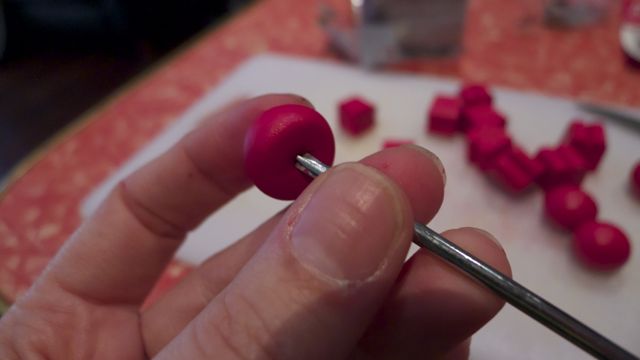
Step 4: Pinch the sphere between your thumb and your finger and gently squeeze it into a lozenge shape, then pierce through with your needle or screwdriver (or nail, or toothpick, or other pointy instrument)
Step 4. cont: I would push the screwdriver through until I felt a little bump on the other side, the I’d flip the bed around and push the screwdriver through to complete the hole. That way it was nice and rounded on both sides.
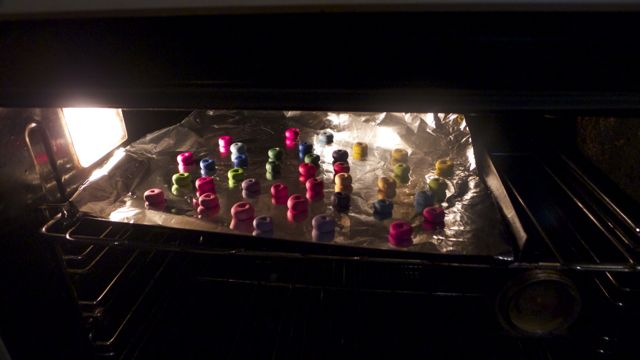
Step 5: Reshape the bead as needed, then put it on a tray to be baked. Rinse & repeat. I think every modelling clay has it’s own baking instructions, so follow that!
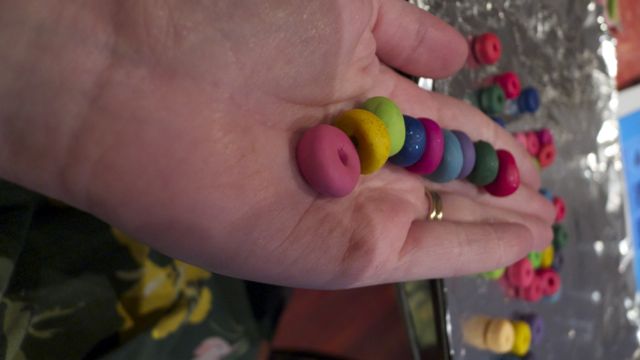
Step 6: Sit down with all your colours and choose a selection that you think works well together.
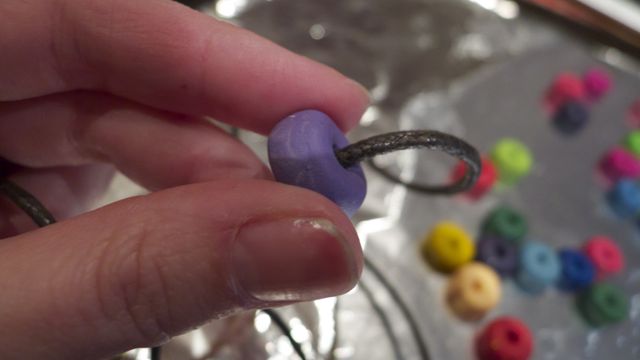
Step 7: Thread them on to the leather thong
Step 8: Finally either tie off the thong, or attach your clasp, and voila!
Quick and easy! And cheap: FIMO costs about $5 a packet in Australia, and the leather an clasps shouldn’t be more than a dollar or so either.



Urgh, nothing worse than attempting to be really organised by sorting an outfit well in advance and then having plans go wrong. Hope you found an acceptable replacement – safe travels and have a great time!
Why do I want Fruit Loops? Seriously, Fruit Loops are my fave, and your necklace is creatively awesome.
Capsule wardrobes are so challenging, but you have so many great basics I know your travel attire will turn out great.
You and several other bloggers are inspiring me to sew. My grandmother taught me to sew, and I used to be pretty proficient but just haven’t found time in many years. But I am really wanting to make some simple vintage-inspired dresses and skirts, and think the only way I’ll get them in an affordable range will be to make them. I’m so excited about creating my sewing space this weekend, and picking out my first pattern and material!
FABULOUS!!!!!!
I smile broadly in your general direction.
Well done.
I love your style.
Hope you have a great trip.
Have a wonderful time in Japan- looking fwd to wonderful updates! I’m sure in spite of the dress drlivery debacle you will Rick a gorgeous outfit!
I loved Fimo when I was little…so tempted!
This looks so cute, great idea for Christmas presents
Sleekit x