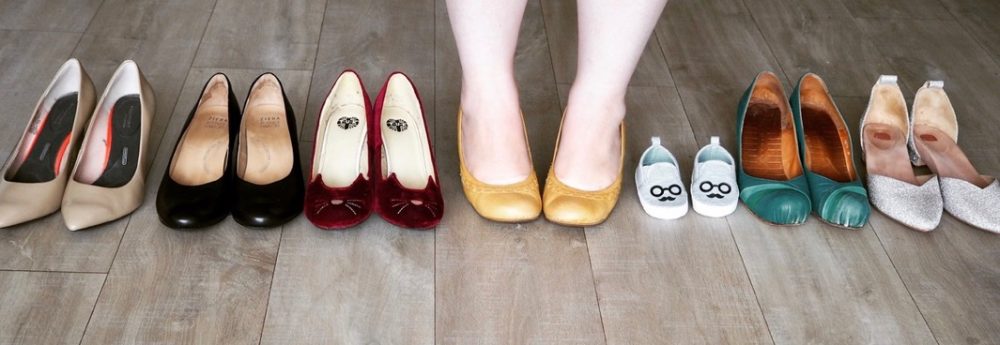

I’ve been promising the tutorial on how to make these heart toe shoes for a while, and I though Me Made May was a great opportunity to share it.
I’ve been looking for a pair of comfortable heart-toe shoes for a while now with little luck, and eventually decided I was going to have to take matters into my own hands and MAKE some.
I started with a pair of beige shoes from Empress, whose “comfi flats” I’ve been wearing almost exclusively since I bought my first pair almost two years ago.
I love that the slightly higher vamp makes my feet feel more secure, and they have dipped sides that mean the shoes don’t rub against my knobby ankle bone. The soles are hard wearing and have a decent amount of cushioning, and you can sub out the inner sole for an orthotic if you wear the wide fit. The leather is really soft and malleable so the shoes are comfortable right out of the box. (If you want to give them a try yourself you’re welcome to use my referral code FRIEND-VF4ZPHL which will get you $30 off)
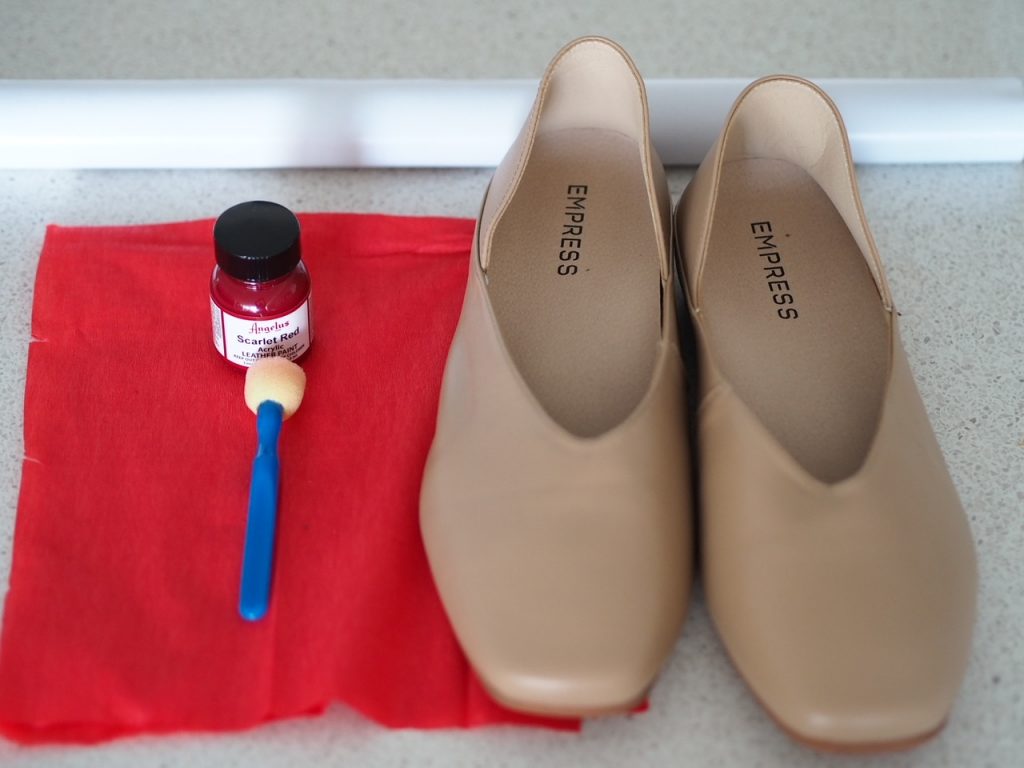
So, for this project you’ll need:
- Shoes
- Leather Paint (I used Angelus)
- Leather Preparer (apparently you can use nail varnish remover too)
- Foam brush
- Book Contact
- Scissors

First, cut out some paper hearts in various sizes and shapes and lay them down on the shoes unless you’re happy with how they look
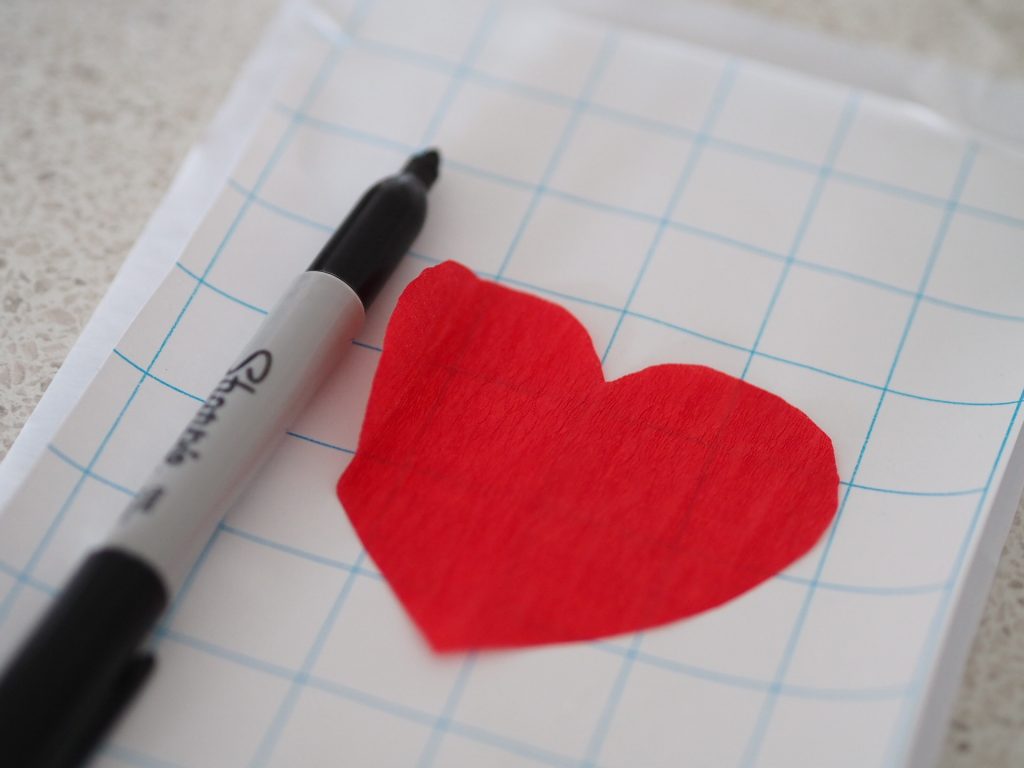
Then, using your preferred heart shape as a template, cut two stencils out of vinyl book contact. Ideally cut both pieces at the same time to ensure consistency across both shoes.

Measure up and stick the stencils on your shoes – being sure to really flatten the edges. You don’t want paint creeping into any creases.

Before you go any further, try the shoes on and make absolutely sure you’re happy with everything! They’re no going back after this point.
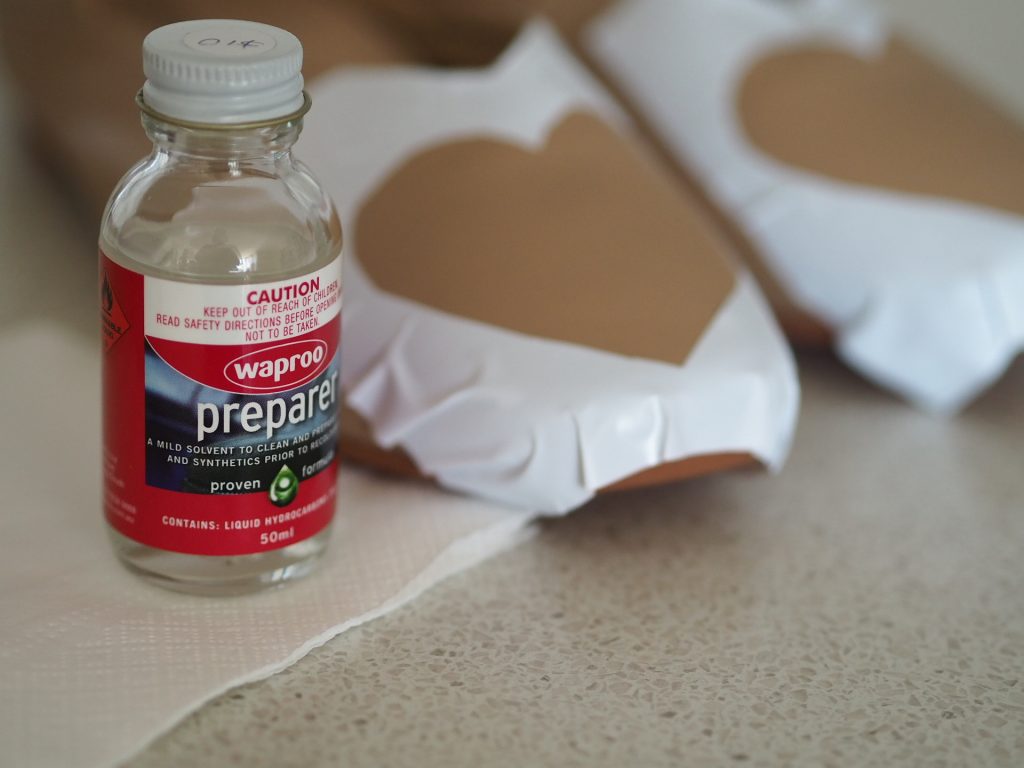
So, before you start painting you’ve got to strip the shoes of the protective top layer to make sure the leather paint will take. Apparently you can use nail polish remover, but if you can get it a proper leather solvent is probably better. You can buy it at most shoe repair places. Once you’ve rubbed the solvent over the parts that you’re going to paint the leather will probably be a bit matte and raw looking. Let it dry properly before you start applying the paint.
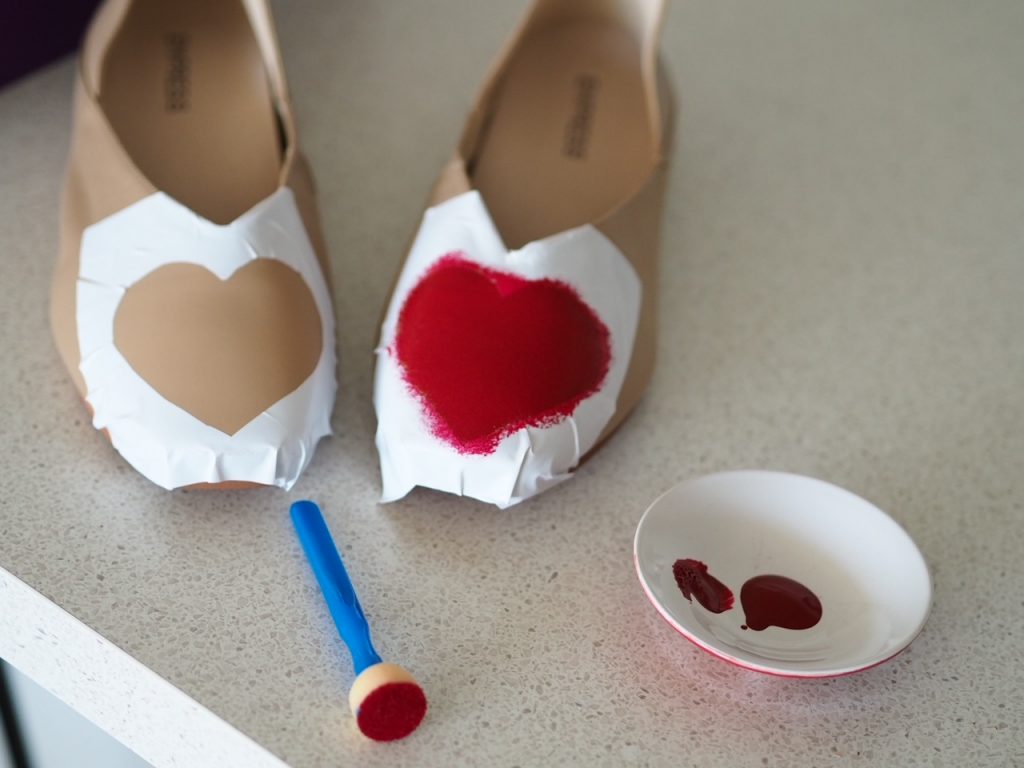
I used a foam brush so that there weren’t any brush strokes. Less is more, and just pay it on gently. Don’t worry if the brush make little bubbles, they’ll disappear as the paint dries.

Do multiple thin coats and let dry at least half an hour between each. When you apply the final coat (I did three) gently peel the stencil off – sloooowly slooooowly – while the paint is still wet. If you wait til the final layer is dry you risk peeling some of the paint off at the edges
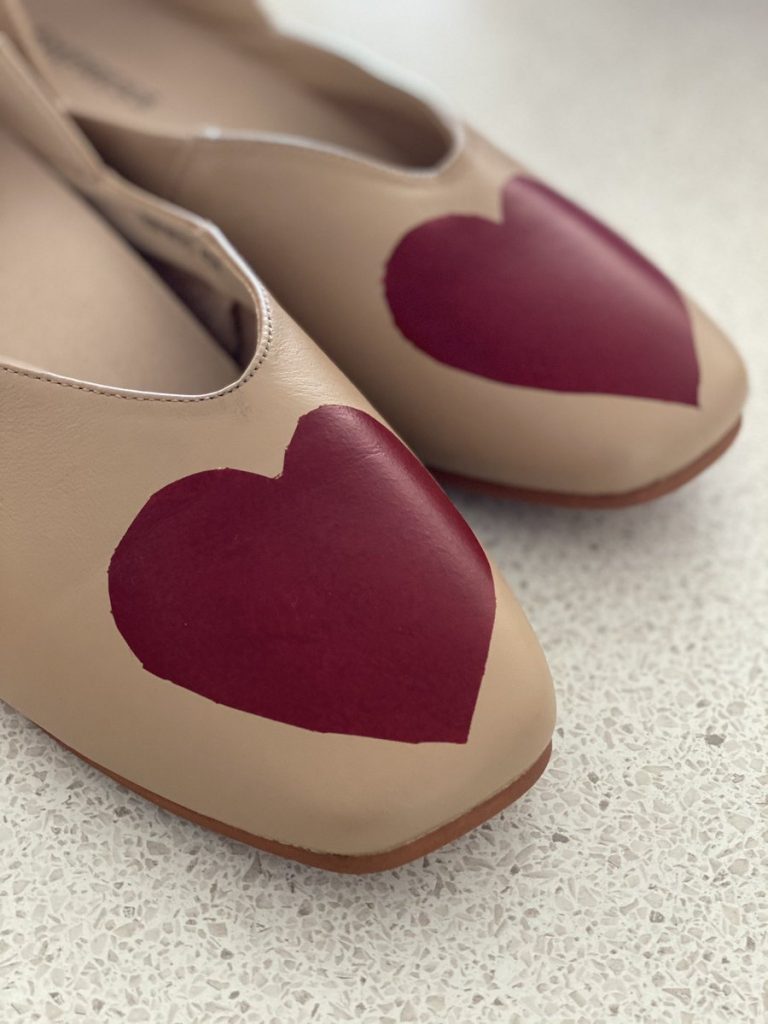
Resign yourself to the fact it was never going to be perfect, then let the shoes dry for at least 24 hours before putting them on and realising that your feet are far enough away from everyone’s eyes that no-one can tell the edges are a bit rough!
Love them.
Like you they are charming, full of character and uniquely stylish.
Love your creativity and customization! For some reason your discount code did not work for me. Not sure why! I’m from Canada so that may have something to do with it.